A note from The Gathering Team:
Hello, Timeless enjoyers and fans of Black Mana alike. We are happy to have teamed up with Grease Ball, who co-created the Jet Storm deck with Adam, for this insightful offering. If you would like to learn more about one of the best decks in Timeless, make sure to check out all of Grease Ball’s other links and info. This guide is written with the understanding that you A) Already play Timeless at a high level, and B) are familiar with Jet Storm in concept and its position/impact on the metagame, and is aimed at those looking to pick up some additional nuance in piloting the deck. That said, please enjoy your guide to Jet Storm.
Why play Jet Storm IN TIMELESS?
- Consistent Early Necropotence Starts
This is the most consistent Necropotence deck in the format. Between Dark Ritual, Phyrexian Tower, creatures that make a Treasure when they die (Treasure Dorks), Diabolic Intent, and evoked Grief, you have several redundant ways to get a Necropotence down before turn 3. With Necropotence, you can draw into your combo more easily while also threatening to overwhelm your opponent with an army of cheap threats.
- Explosive
Jet Storm is very good at casting 4-6 spells in a single turn without fully comboing. Between the acceleration of Dark Ritual, Phyrexian Tower, the treasure dorks, and Jet Medallion, you can frequently empty your hand and Necro to refuel, in order to do it all again the next turn.
- Aristocats Backup Plan
Among combo decks, Jet Storm has the best plan B in the format. With Marionette Apprentice and Chthonian Nightmare loops, you’re able to do your best Aristocrats impression and deal incidental damage throughout the game to pressure your opponent’s life total. Opponents must fight a two-front war where they must protect their life total and defend against your full combo. You also can threaten to Meathook Massacre your own board for a kill.
- Dynamic Gameplay
Between activating Necro for anywhere from 0-19 times every turn and having five tutors, every game you are making a ton of contextual decisions that directly impact your probability of winning the game. In some of your games, you might need to combo as fast as possible, while in other games you might be tutoring for Surgical Extraction or looping Griefs with Chthonian Nightmare on the interactive beatdown game plan.
Win Conditions:
Jet Storm has the primary win condition of executing the full combo or a “soft combo”, with a secondary win condition of the “Aristocats plan”, depending on your draw. You generally want to pressure mana drain decks with the nightmare value plan to force combo magic out and protect your more important full combo pieces in Chthonian Nightmare and Jet Medallion.
The Full Combo:
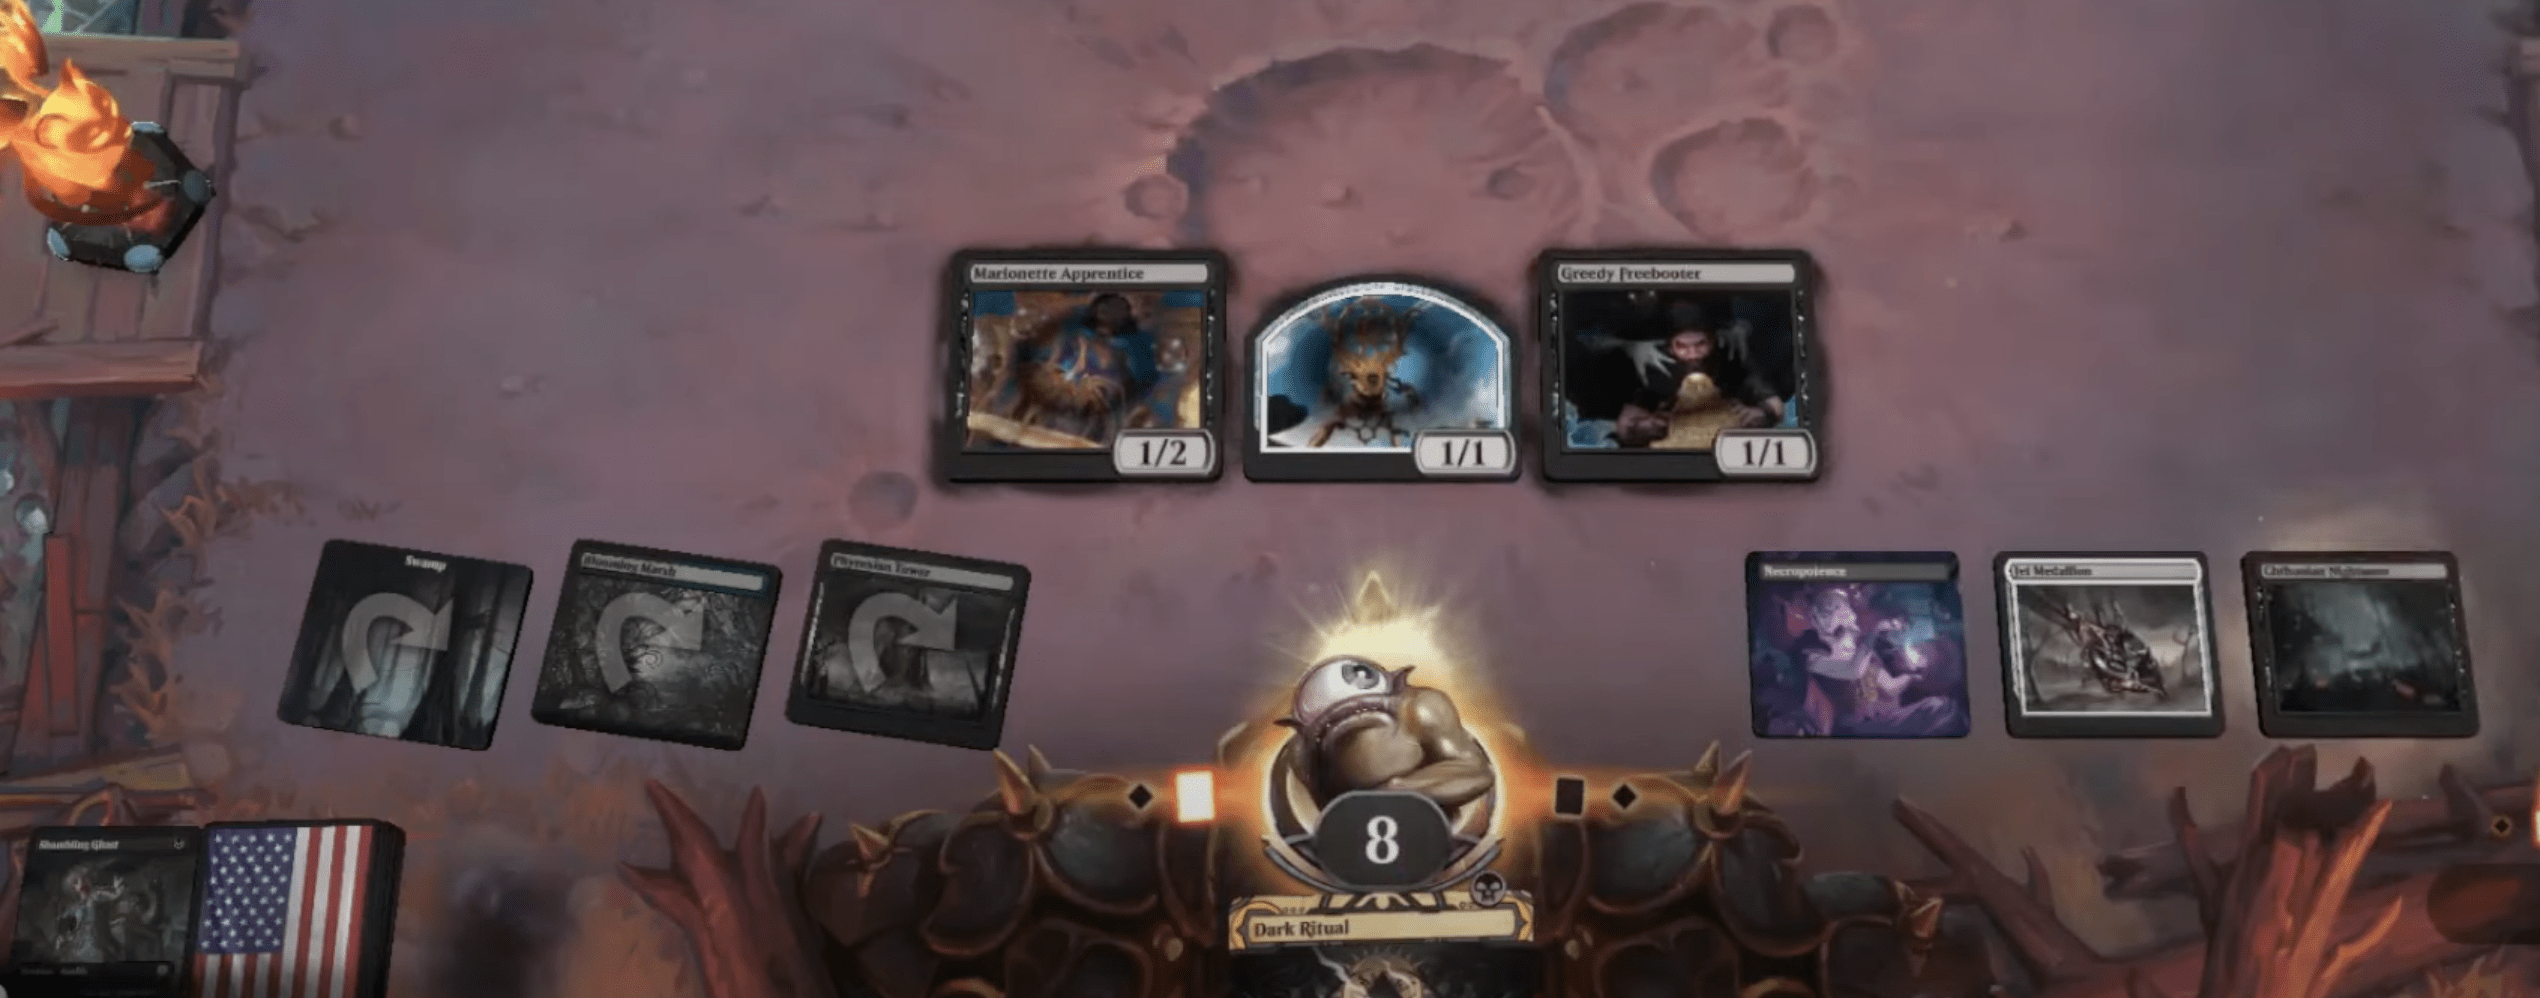
If you have a Jet Medallion and a treasure dork in the graveyard, you can play Chthonian Nightmare for one mana and sacrifice a treasure dork in play targeting a treasure dork in the graveyard. Upon dying, the treasure dork in play will create a treasure, giving you the mana to re-cast Chthonian Nightmare infinitely. If you are doing this with either a Marionette Apprentice or The Meathook Massacre in play, each loop will drain the opponent. A typical ending board state should look similar to this.
The Soft Combo:
Even when missing a piece of the full infinite combo, you can find ways to generate enough damage or value to win the game. If you have every combo piece but Jet Medallion, you can still deal two damage per mana spent by looping treasure dorks with Chthonian Nightmare and Marionette Apprentice. Treasure dorks reduce the cost of each Chthonian Nightmare loop by one mana, so you can even loop things like Orcish Bowmasters or Grief more cheaply as well and have really powerful, non-infinite sequences that can be game-winning.
The Aristocats Plan:
With most non-energy decks running ten or more fetches in the format and few ways to regain life , you’re able to pressure their life total with attacking and Marionette Apprentice triggers. The effects of Marionette Apprentice stack with themselves and The Meathook Massacre, giving you some very threatening reach in the deck. You can also threaten to loop Grief and force your opponent to react, giving you a lot of pressure. Generally against a deck like UB tempo, you can pressure their life total with pings from Marionette Apprentice and Orcish Bowmasters and force them to commit to countering a less important, threatening spell. You can even have sequences where you’re sacrificing your creatures to Phyrexian Tower for reach or casting Diabolic Intent to find a second Diabolic Intent to deal the lethal reach damage. The threat of looping Grief or dealing 20 damage helps you pressure Mana Drain decks and essentially make them fight a two-front war where they are busy trying to prevent your combo and defend their life total.
Note: This plan tends to be less viable against Energy builds, where they can rebuild life total with Guide of Souls Sequences.
Before getting into the sideboard cards, it is important to note:
- Jet Storm sees a lot more cards in a game because of Necropotence. Due to that, you can more reliably see 2-ofs. Also, because you get your cards off Necropotence at the end of turn, you’re able to better leverage cards like Surgical Extraction by casting it at the end of turn before you discard to hand size, so you’re not even going down a full card when casting Surgical like other decks.
- In addition to Necropotence, this deck runs five tutors, so it can leverage smaller counts of sideboard cards when the timing of the card coming down does not matter as much.
Sideboard Card Choices
- Haywire Mite

Haywire Mite is our main interaction for artifacts and enchantments, and you generally want two, as your opponent can sometimes exile the first copy with Unlicensed Hearse or Stone of Erech with the trigger on the stack. It also gains life for Necropotence and can be recurred with Chthonian Nightmare to repeatedly gain life and exile hate pieces. If you’re about to be Necro-locked at 1 life, you can also activate Haywire Mite targeting your own Necropotence, gain the 2 life, activate Necropotence 2 more times while the exile trigger is on the stack, then undo the lock on yourself by resuming your draw steps. This card is why Jet Storm is splashing Green.
- Surgical Extraction
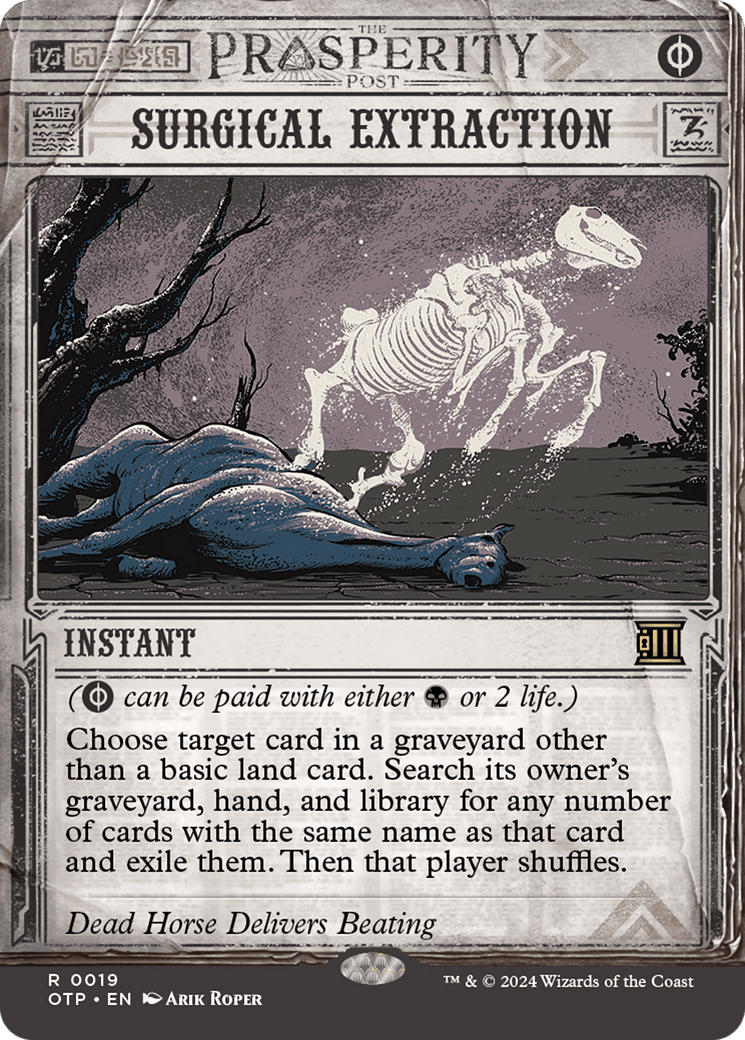
Surgical Extraction is very important to our combo hate plan. Surgical Extraction is great with Necropotence in that we can cast it at the end of the turn before discarding it to hand size, so we don’t have to spend a “full card” on it like other decks. We can also tutor for Surgical when it matters most. Against the more all-in combo decks like Show and Tell, you can build a “soft combo” win of Grief/Duress + Surgical Extraction targeting Show and Tell to essentially lock them out of the game. You also have lines where if you have a treasure dork + Diabolic Intent and any 1 of Grief/Duress/Surgical Extraction, you can tutor for the other piece and immediately execute your “soft combo”.
- Vexing Bauble
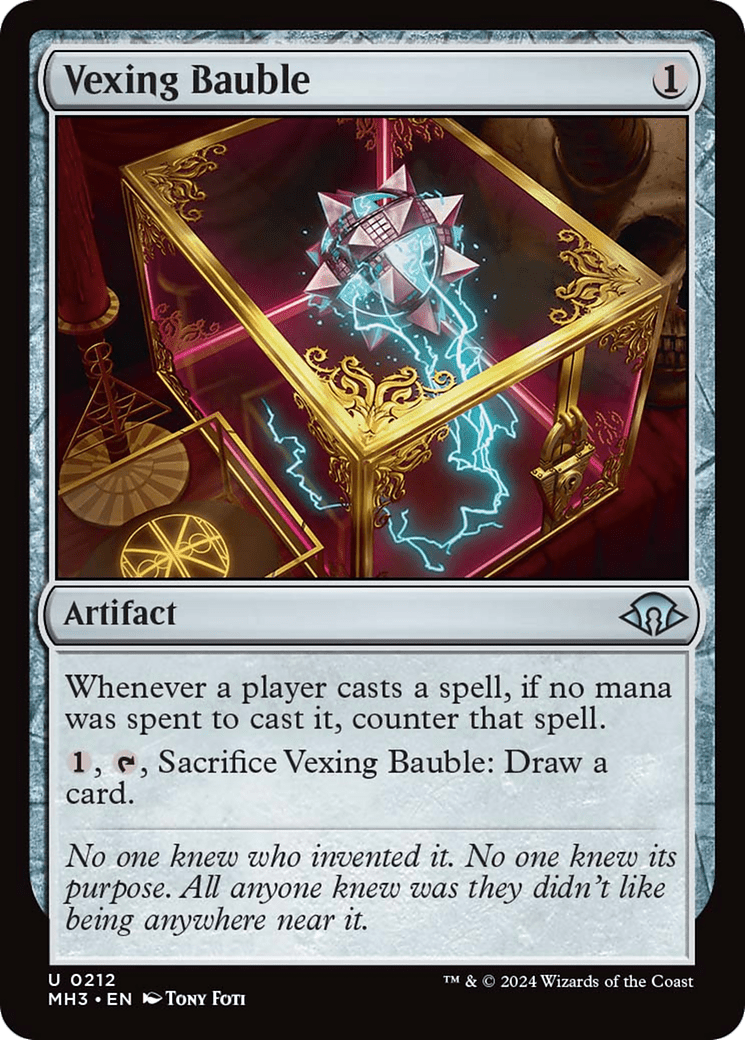
Our main permanent-based hate piece for Show and Tell. We are primarily concerned about their Omniscience combo and playing two copies of Vexing Bauble gives us a 69.1% chance to see it if we have Necro’d down to 1 life and looked at our top 26 cards. Generally, this buys us about a turn against Show and Tell, which is all we need. It can also protect us from their Force of Vigor on our combo turn and against Grief Scam on the play.
- Reclamation Sage
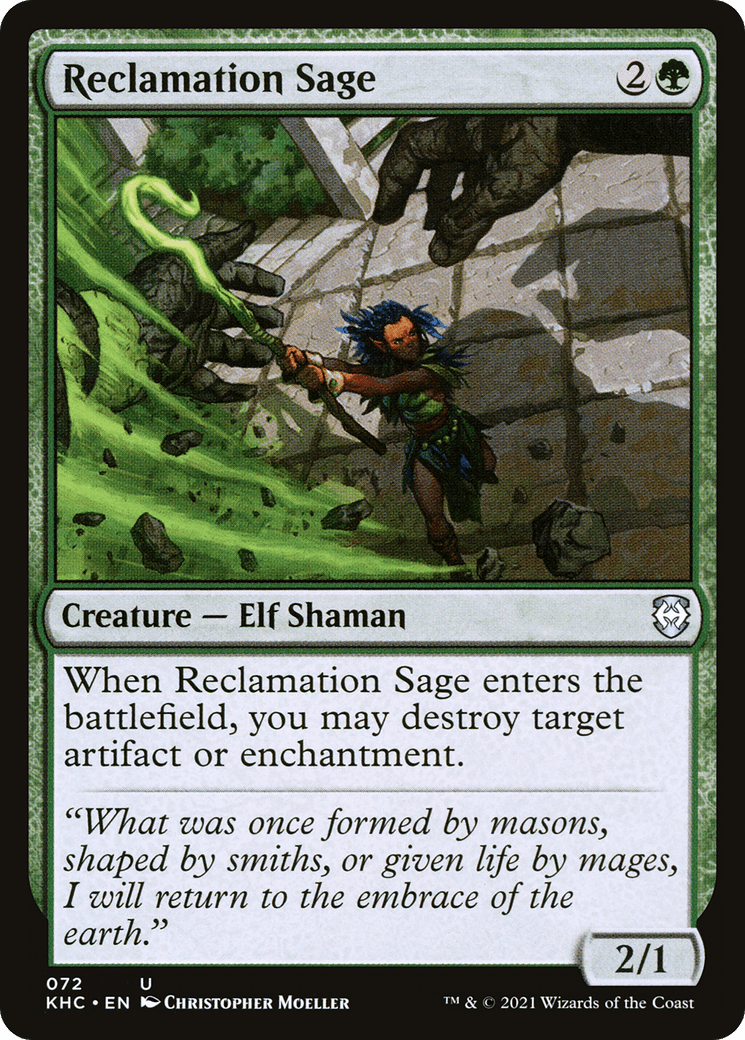
Reclamation Sage is our other permanent-based hate piece for Show and Tell. Because we’re essentially mono-Black, Show and Tell will want to bring out their Borne Upon a Wind effects and keep in Veil of Summer. This makes Reclamation Sage’s ability more useful post-board. It also lets us occasionally destroy a Leyline of Sanctity and attack them with discard. With 2 Vexing Baubles and 1 Reclamation Sage, we have an 83.2% chance to draw one of these effects if we have Necro’d down to 1 life and seen 26 cards.
- Defense Grid
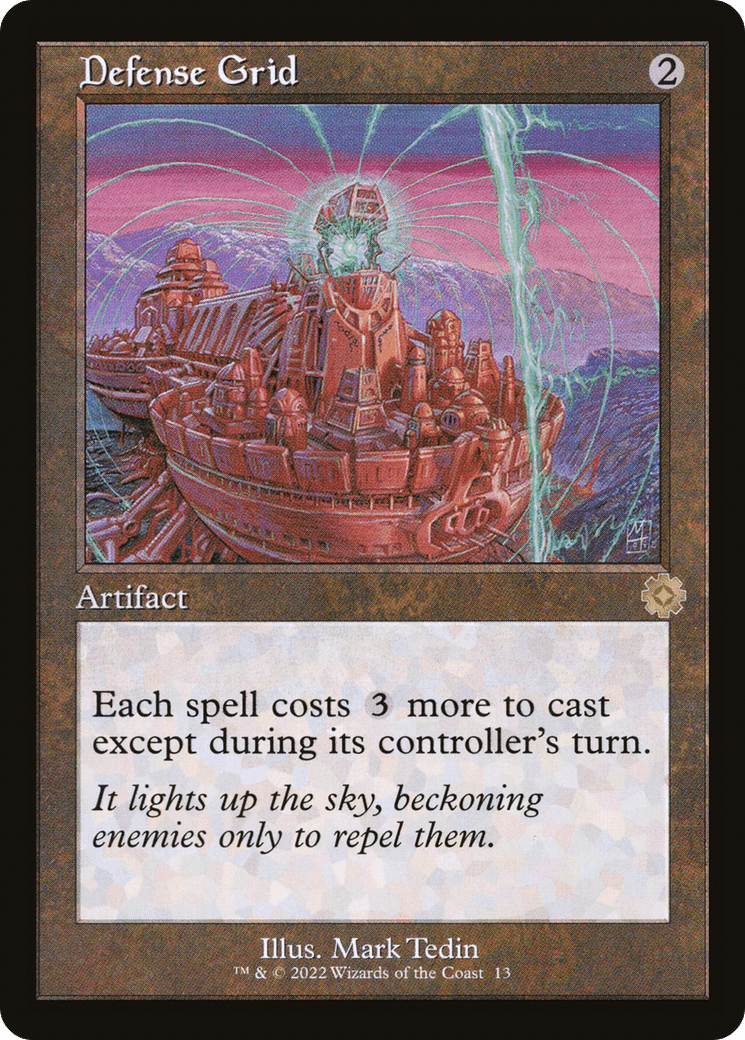
Our main way to play through Dimir Tempo and other Mana Drain decks. Because of this deck’s fast mana package, we are very good at forcing out a Defense Grid + another threatening card like Necropotence on the same turn. This card is much better than effects like Veil of Summer and Duress because it can strand countermagic in your opponent’s hand, which then makes their Treasure Cruise and Dig Through Time worse. We are running three copies of this effect because it’s much more effective when you draw it and can cast it on turn two.
- Grief
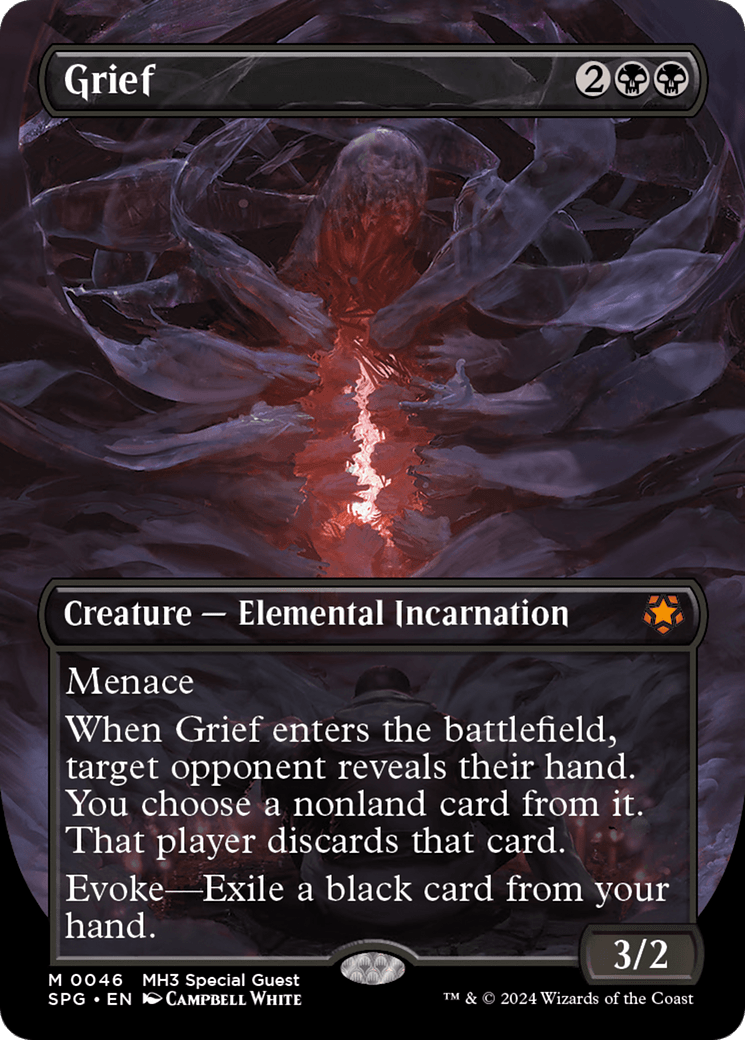
Grief is part of the discard package that we bring in against Combo decks. Being able to disrupt combo decks with Grief will often delay them for a turn, and then you can use this extra turn to start looping your Grief with Chthonian Nightmare and lock them out of the game.
- Duress
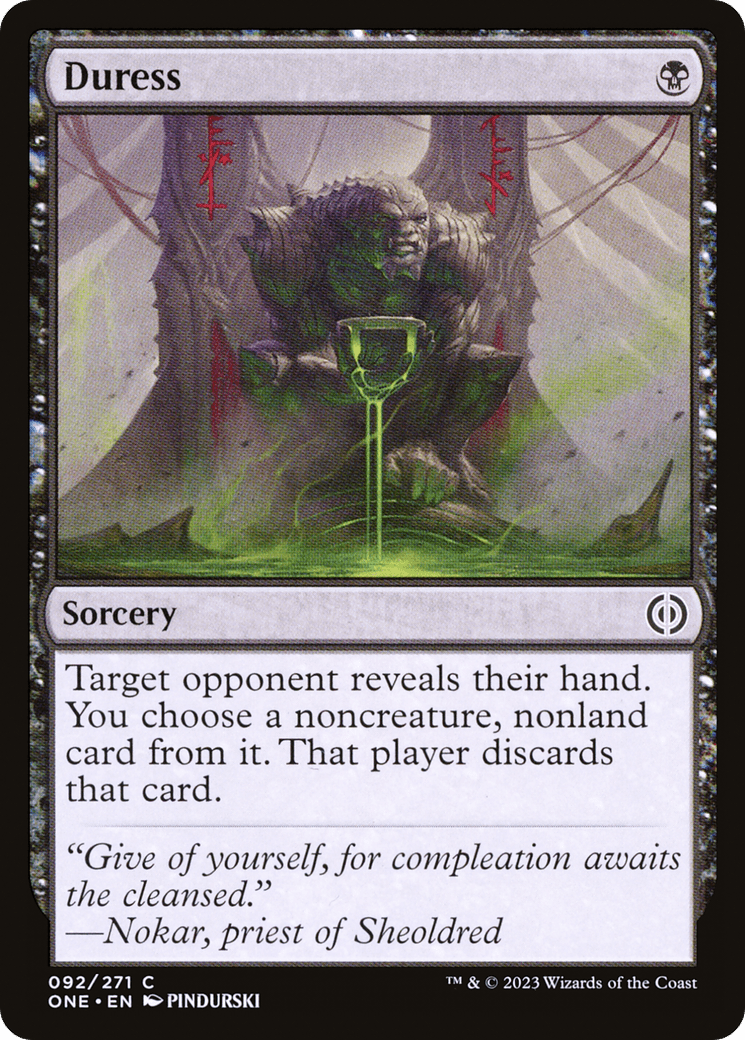
Duress is another part of our discard package that we bring in against Combo and Mana Drain decks. From my experience with the deck, I have generally preferred to have Duress but no Grief when playing against Mana Drain decks, as Grief consumes more resources and lets them potentially set up a Treasure Cruise or Lurrus to hand off of Mana Drain and catch back up in mana. Siding out Griefs against Mana Drain decks is something up for discussion, but currently, I prefer to have access to Duress over Grief for Mana Drain matchups.
- Accursed Marauder
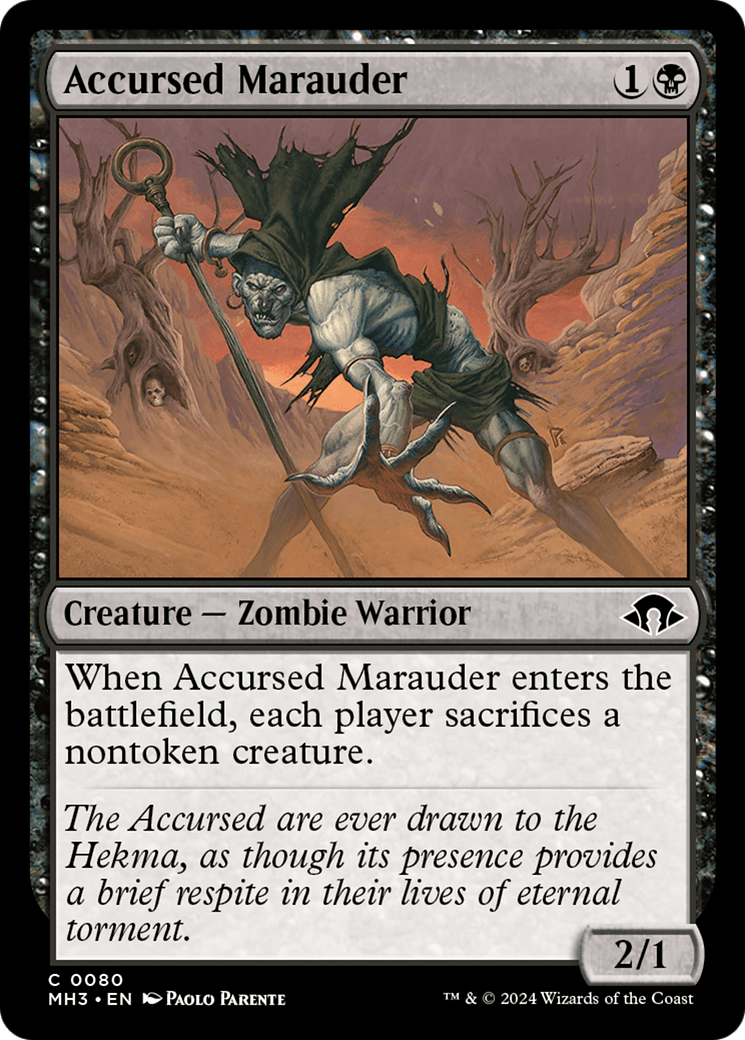
This is a great recursive removal spell against interactive decks with a low density of high-value creature threats. It is mainly there for the Grief scam matchups such as Rakdos Scam and Sorin Scam, but it is also good against Dimir Tempo. It helps protect your life total against these decks and buys you the time to make your Necropotence top decks better, while also clearing the board for your other creatures to rack up combat damage. I wanted to keep all of the discard package for Combo and all of the anti-energy cards in the sideboard, and this card is coincidentally good against Dimir Tempo, so Accursed Marauder ended up replacing Defense Grid number four in the sideboard.
- The Meathook Massacre
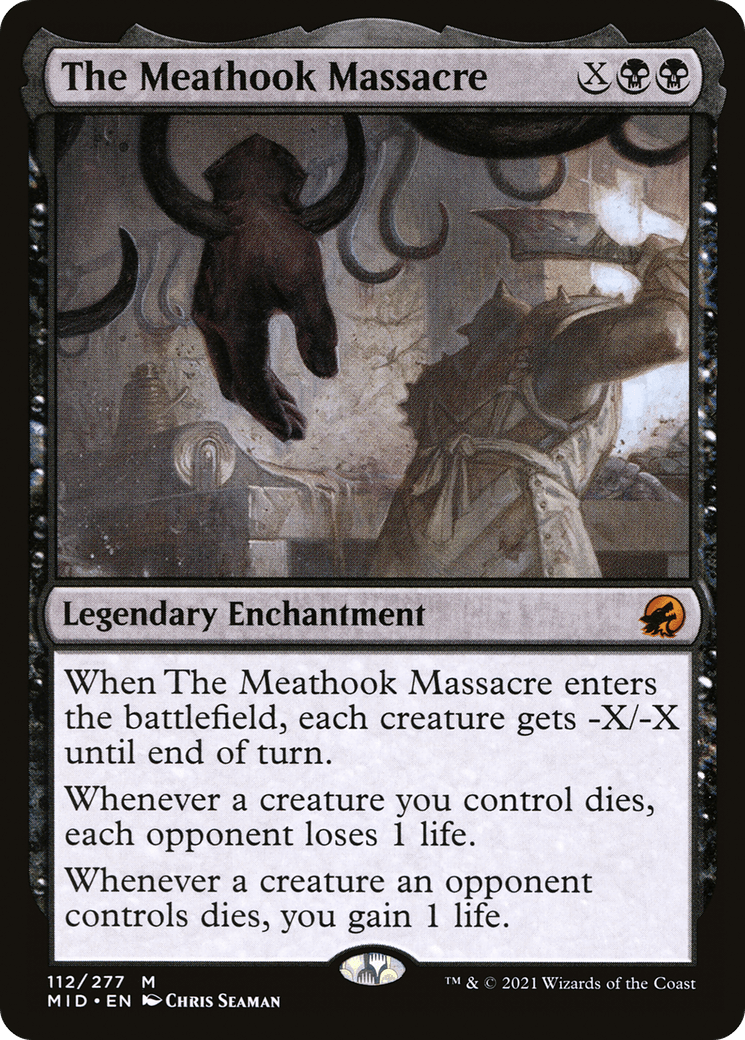
We run two extra copies of The Meathook Massacre for energy. It’s our best card against them and can be an alternate Marionette Apprentice effect. You do want to try to get this down before your energy opponent can resolve a Goblin Bombardment, I would even play this before Necropotence on a lot of board states. If you resolve The Meathook Massacre a turn after Goblin Bombardment, you get attacked an additional time, miss out on the life gain you would have gotten from Meathook, AND you get pinged down by bombardment, causing you to Necro-lock yourself by playing The Meathook Massacre out a turn too late.
Previous sideboard cards
- Boseiju, Who Endures

After the two copies of Haywire Mite, this was our third way to interact with artifact and enchantment hate and could not be countered. It was originally played to protect against Haywire Mite being exiled by Surgical Extraction and provide an extra untapped green source in a pinch. It was also added in a metagame(circa early August 2024) where Shift and Tell was extremely popular, and hitting Shifting Woodlands was much more relevant. There were some issues with Boseiju that made it too weak to run:
- Boseiju as a land felt below rate in this deck with how pip intensive some of its turns could be. If you ever needed to play Boseiju for Haywire Mite it felt like you were two-for-one’ing yourself.
- The “uncounterable” text ended up not mattering as much as expected due to us playing a lot of discard and the Defense Grid effect post board.
- The target matchups where we brought in Boseiju were Lurrus decks (Mardu and Dimir Tempo). This meant that they could use the extra land well for the next two turns and even bring back whatever hate piece we destroyed.
- Boseiju did not threaten to take over the game with Necropotence as Haywire Mite did with Chthonian Nightmare.
- Mindbreak Trap
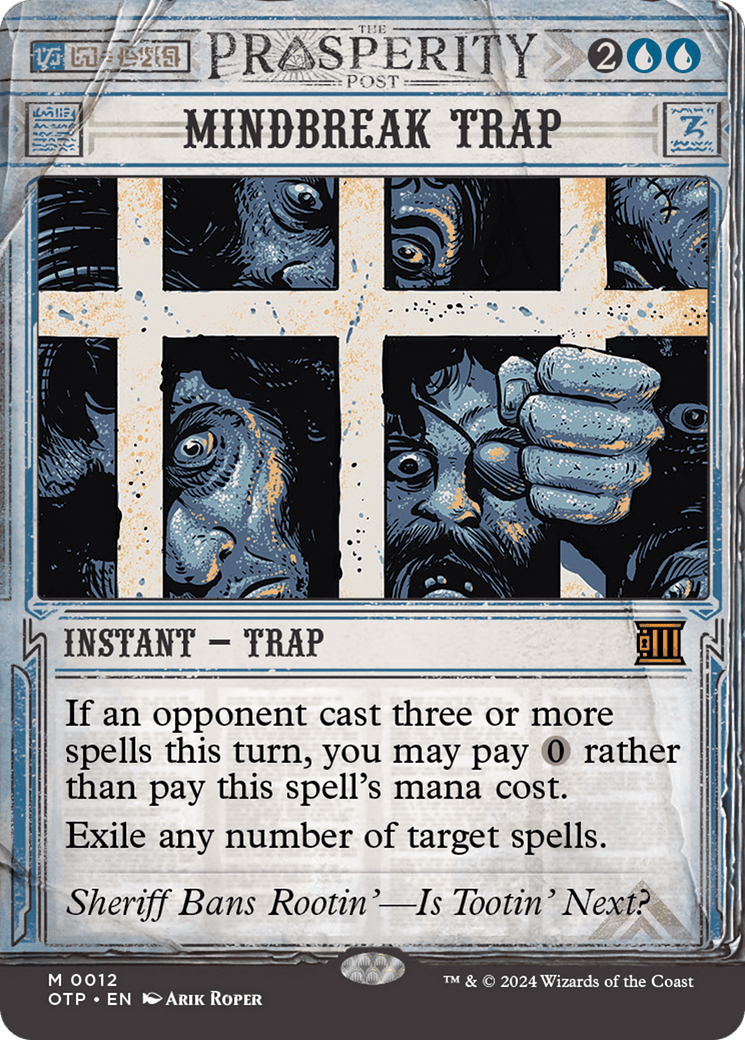
I originally tried this as backup hand protection against Show and Tell combo. The idea was that you would activate Necropotence very aggressively due to their lack of reach, then keep your needed combo cards, a Vexing Bauble, and sometimes a Mindbreak Trap, essentially providing you two layers of protection so that you could survive a turn, then untap and do your combo. It ended up being too difficult to keep seven cards that included Vexing Bauble + Mindbreak Trap, as sometimes you needed the mana from Dark Ritual or a land drop, and for Vexing Bauble + Mindbreak Trap to beat Veil of Summer, you would need a spare mana to crack Vexing Bauble so that you could cast Mindbreak Trap and have it not be countered by your own Vexing Bauble. It ended up being too fringe, and I eventually switched to Reclamation Sage, which provides a unique first layer of protection against Show and Tell (it does not lose to Veil of Summer/Abrupt Decay like Vexing Bauble does) while also sometimes hitting their Leyline of Sanctity.
- Leyline of Sanctity
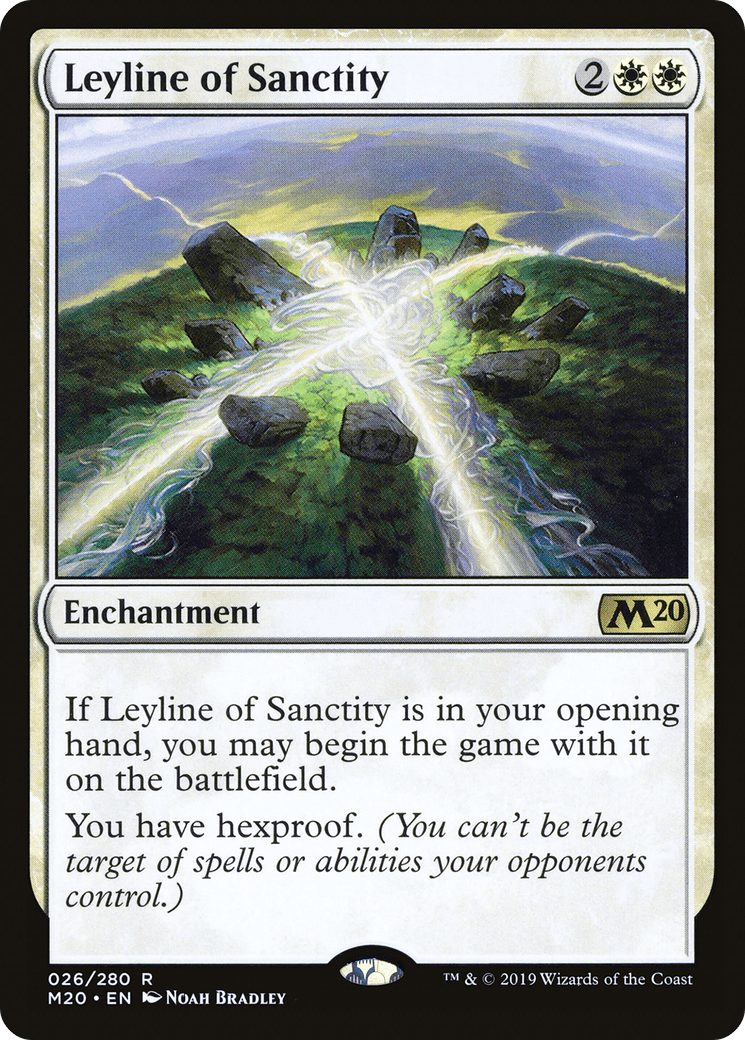
You generally are obligated to run four Leylines of Sanctity, which hurts the flexibility of your sideboard. Your main matchup for this would be Grief Scam variants, which are not popular due to Grief Scam’s bad matchup into energy builds. It is decent into Mardu Energy with eight discard effects, but you generally don’t have four cards in your main deck that you want to swap out with them.
- The Stone Brain
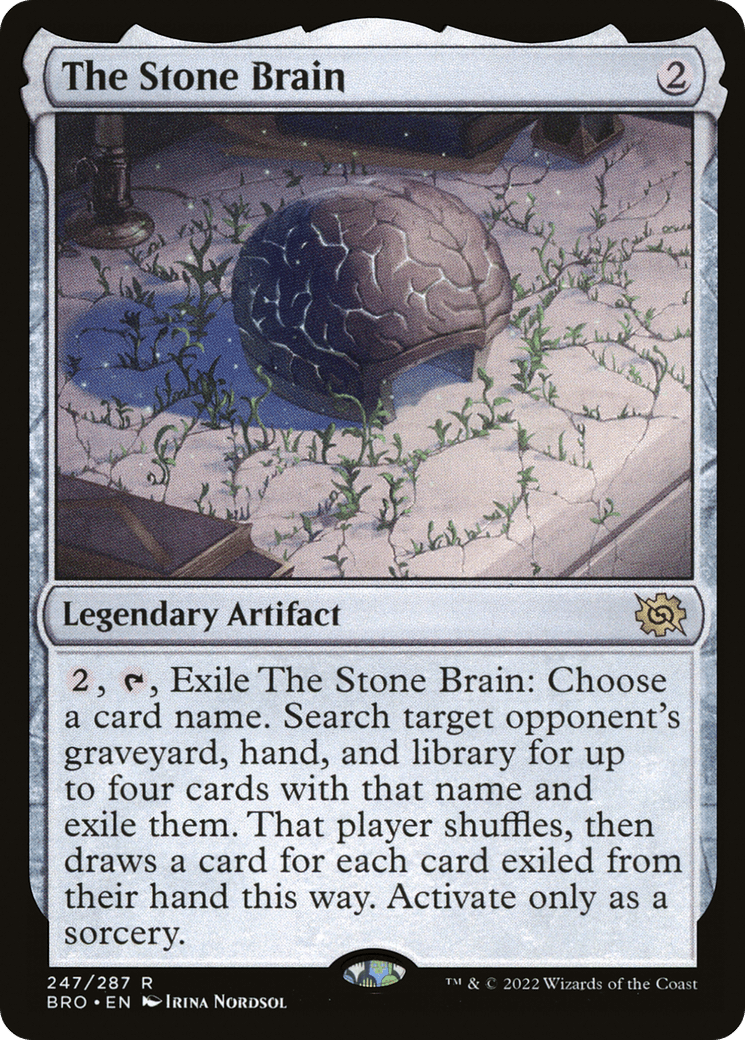
While we are very good at being able to activate The Stone Brain on turn 2, the issue is that it is only good against the all-in combo decks while it is also blanked by Leyline of Sanctity, which is already impactful against our discard package. So it’s only effective in a few select combo matchups and doesn’t attack from a different angle than our other anti-combo sideboard cards.
- Culling Ritual
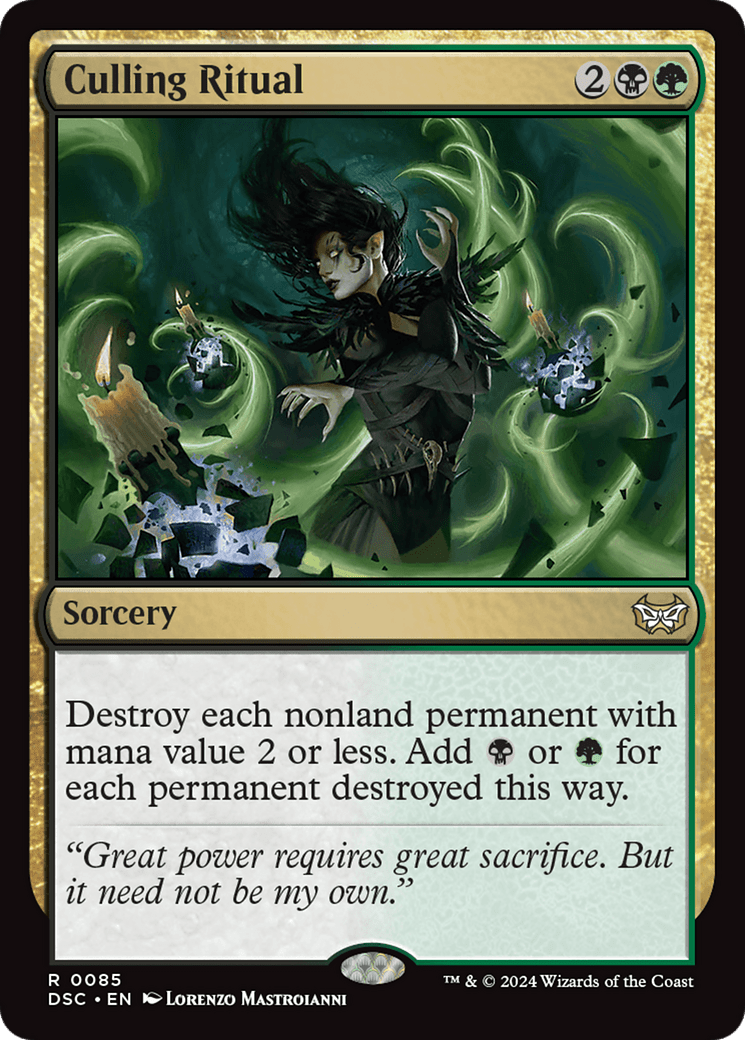
I tried this for Mardu Energy to attack their more hate-filled draws and also hit bombardment. The issues were that:
- Sometimes, you need to use Jet Medallion to ramp towards Culling Ritual, and then you lose your Jet Medallion.
- If they have bombardment in play, they can sacrifice all of their creatures and cut off the mana you get from Culling Ritual.
- Stock Mardu Energy only runs one Unlicensed Hearse and two Pithing Needles, so there’s not a ton of hate to hit.
- Mardu can generally just Lurrus to hand and rebuild if you don’t also have a powerful follow-up.
- Culling Ritual doesn’t build towards your combo or enhance your Necropotence like The Meathook Massacre will.
Matchups:
Show and Tell variants:
| IN | OUT |
| +2 Vexing Bauble | -4 Orcish Bowmasters |
| +2 Surgical Extraction | -2 March of Wretched Sorrow |
| +1 Duress | -1 The Meathook Massacre |
| +1 Grief | |
| +1 Reclamation Sage |
Notes:
In this matchup, you have two main ways to interact: Discard and Show and Tell protection. As a general rule of thumb, for each of these interaction spells you have access to, you generally get one turn of leeway for your combo. So you should keep a turn three Necropotence hand if you have access to interaction, or a turn two Necropotence hand with no interaction.
Jet Storm also has access to the “soft combo” of Grief + Surgical Extraction on their Show and Tell or Omniscience that takes away their combo kill. For games where you’re racing, you generally are going to go down to one life when the opponent is two turns away from casting Show and Tell with a payoff, as you will not get to untap with Necropotence twice vs. either Omniscience or Atraxa.
If you have excess mana when comboing, lead with Vexing Bauble to play around Force of Vigor when possible. If you have a decent amount of your combo in play and can keep extra cards off of Necropotence, I would recommend keeping an extra Jet Medallion, Chthonian Nightmare, and/or Diabolic Intent, in that order, as they do generally run two Boseiju, Who Endures. When trying to play around Boseiju, Who Endures, and you have a Blooming Marsh, be sure to lead on that so that it doesn’t come into play tapped after they channel Boseiju, Who Endures.
As a note, it’s difficult to hold one green mana up for Haywire Mite, and it also doesn’t hold priority, which allows our opponent to cast a spell off of Omniscience, which makes it too slow to be good in this matchup. Your sequencing of activating Necropotence to one life, then figuring out what your Necropotence cards will be, and then tutoring for either the missing combo piece or interaction is very important in racing in this matchup.
This matchup is favorable, with a slight disadvantage in game one and an advantage post-board as your play is straightforward. You have two paths to victory via combo and interactive beatdown, and they are forced to combo to win.
Mardu Energy:
| IN | OUT |
| +2 Haywire Mite | -2 Grief |
| +2 The Meathook Massacre | -1 Chthonian Nightmare |
| -1 Jet Medallion |
Notes:
Out of the Tier 1 decks, this is probably your toughest matchup as post board they pack a variety of hand disruption in Thoughtseize and Juggernaut Peddler, permanent-based hate in Unlicensed Hearse and Pithing Needle. Combine that with the reach that Goblin Bombardment and Ajani, Nacatl Pariah provide that makes your keeps and necro activations very uncertain in the early game.
You generally want to hold your tutors and get down an early The Meathook Massacre or have access to Haywire Mite to mitigate the power of Goblin Bombardment. Your win conditions will generally be either turn 3 comboing them with an early Necropotence start or playing a slower game and holding tutors to figure out a gameplan to fight through their interaction, then aggressively activating Necropotence to finish out the game once they’re topdecking.
I would say that this matchup is unfavored due to how straightforward Energy’s play is, while you will have to take calculated risks throughout each game.
Boros Energy:
| IN | OUT |
| +2 Haywire Mite | -2 Grief |
| +2 The Meathook Massacre | -1 Chthonian Nightmare |
| +1 Surgical Extraction | -1 Jet Medallion |
| -1 Orcish Bowmasters |
This Boros match-up is a bit easier than Mardu Energy because they lack the access to discard which can make getting Necropotence into play much easier. You want access to one Surgical Extraction to deal with Phalge, Titan of Fire’s Fury as March of the Wretched Sorrow is the only other answer.
As early discard is Jet Storm’s biggest weakness due to it disrupting early Necropotence, I think this matchup is favorable for Jet Storm due to the lack of discard from Boros Energy.
UB Tempo:
| IN | OUT |
| +3 Defense Grid | -2 Jet Medallion |
| +2 Haywire Mite | -2 Chthonian Nightmare |
| +1 Duress | -1 The Meathook Massacre |
| +1 Accursed Marauder | -2 Grief |
Grief plays a bit worse against Mana Drain decks, but there is an argument to keep one in to threaten looping it. You generally want to overwhelm them with your mana advantage to stick either a Defense Grid or Necropotence or Jet Medallion, while threatening their life total with the aristocat plan. They play ten to twelve fetches and do not have any life gain, so any damage you do will stick and wear at them. Your aim should be to hammer at them with your one drops and Orcish Bowmasters to pressure them and force them to do something outside of holding up countermagic.
They also don’t have any reach outside of Orcish Bowmasters, so you can be aggressive with your life total once it sticks. As a rule of thumb, because they’re much more likely to hold mana up and trade a counter for a combo piece, I like to necro to seven or eight cards at a time and gradually fight through their cards as you’re very unlikely to fully combo them unless you reach a drawn-out endgame.
From personal experience and testing with Chestheir, I believe this matchup is favored due to it having so much fast mana, threatening UB’s life total enough to matter, having enough board presence to block non-Psychic Frog creatures, and its most important pieces being artifacts and enchantments.
