At the time of writing this, Scuffle is Mythic 90 after two days of drafting from Platinum 5.
For a complete card-by-card rating updated weekly, check out our dedicated page at The Gathering!
It’s here! We finally have Modern Horizons 3, a special draft format, unique among its predecessors. It’s deep, the cards are powerful, and we can draft it online without paying $50!
In all seriousness, this means we have a deep format that can be drafted more than once. MH1 and MH2 were both equally deep, but the price point for paper cards meant it wasn’t worth delving into a format that could only be drafted once or twice. I am happy to delve into this one, beginning with the stats!
Modern Horizons 3, at the Common and Uncommon rarities:
STATS!
Modern Horizons 3, at the Common and Uncommon rarities:
- 30 Removal spells (more at common than usual)
- 8 Combat Tricks
- 3 Disenchants
- 2 Shatters
- 3 Sources of Recursion
- 2 Sources of Colorless Fixing
- 10 MDFC Dual Lands
- 10 Fetchlands
- 0 Unplayable Cards
- 115 Creatures (or things that act like creatures)
Among those creatures,
- 17 Fly
- 6 have Reach
Those creatures have toughnesses!
- 30 have 1 Toughness
- 41 have 2
- 30 have 3
- 24 have 4
- 11 have 5
- 8 have 6
- 4 have 7
- 3 have 8 or more Toughness (more than usual)
So that means:
- The 0 cards that deal 1 damage deal with 20% of creatures
- The two 2-Damage Removal spells deal with 48%
- The four 3-Damage spells deal with 67%
- The five 4-Damage spells deal with 83% (unusually many spells)
- The 0 5-Damage spell deal with 90% (unusually few spells)
There’s other kinds of removal:
- 5 Unconditional Removal Spells
- 5 other Conditional Removal Spells
- 1 “Oblivion Ring” style exile effect
- 2 Disabling Enchantment
- 1 Creature Tapper
- 1 Counterspell
- 2 Tempo Plays
- 1 Act of Treason Creature
- 1 Tuck Effect
- 10 Creatures that Remove other Creatures
- 2 Bite Effects
- 1 Fight Effects
- 2 Sweepers
Taken altogether, this means that 5 is the magic number for toughness, removal should be taken somewhere in the middle of your game plan and, while all the answers are available, you may need to pick your specific needs a little higher.
The Shape of the Format
Modern Horizons 3 is a powerful format, with mostly strong cards and synergistic, well-defined archetypes. The things you need to know to play are:
All the Mechanics
I’m just kidding, you do not need to know all of the 60+ mechanics returning in Modern Horizons 3, none of which are new. Every mechanic appears on only a small number of cards, and is explained on each card. Instead, you need to know the batches of mechanics that form together into a theme, so as to better bridge them as you draft.
Modified refers to anything that modifies a creature, including equipment, counters (anyone’s), and auras (just yours). Proliferate, Shield Counters, Living Weapon, Adapt, Evolve, Bestow, Equip, and Auras all contribute to Modified.
Eldrazi are a returning creature type and batching mechanic, and bring with them a series of keywords that relate to their unique Eldritch aesthetic and humongous size. They’re all colorless and tend to be either humongous or aid in casting humongous creatures. Wastes(colorless Mana), Devoid, Eldrazi Spawn, Mana Value triggers, Cast triggers, Emerge, and token synergies all relate to the Eldrazi.
Energy is simply a resource- Cards produce energy and cards spend energy , but energy doesn’t have any value unless a card specifically says it does. A deck that produces a lot of energy ends up as strong as its strongest card that consumes it. A deck that has a few ways to use energy can make every 3 energy =1 Card, but a dedicated energy deck will aim to make 2 energy =1 Card.
Mana
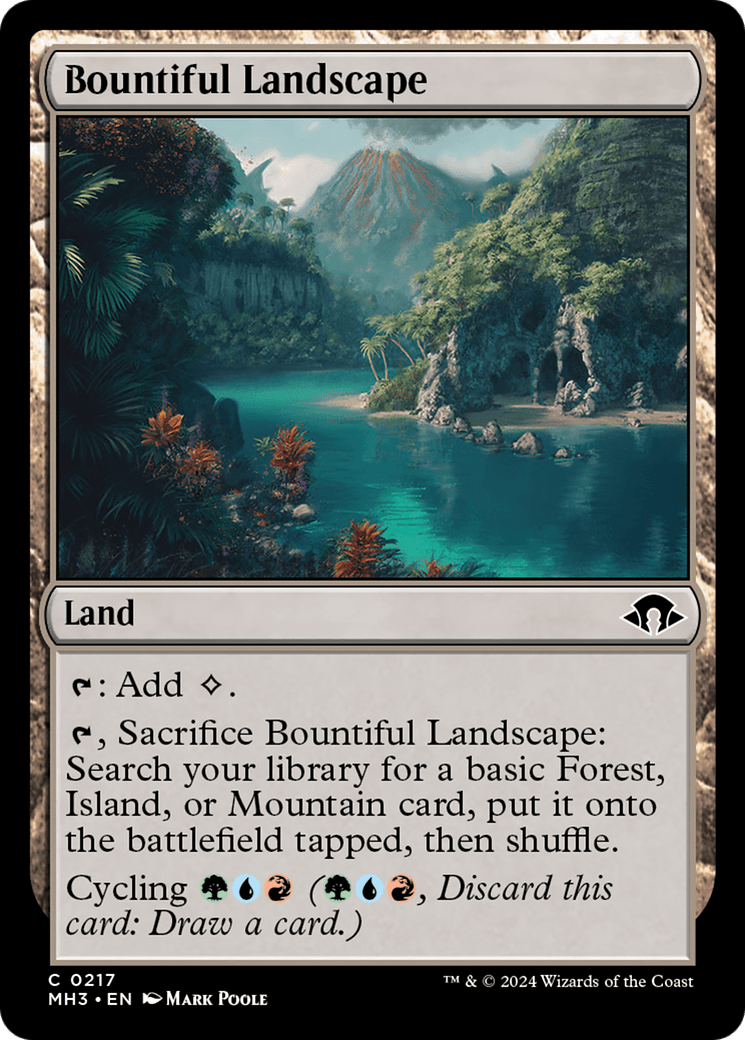
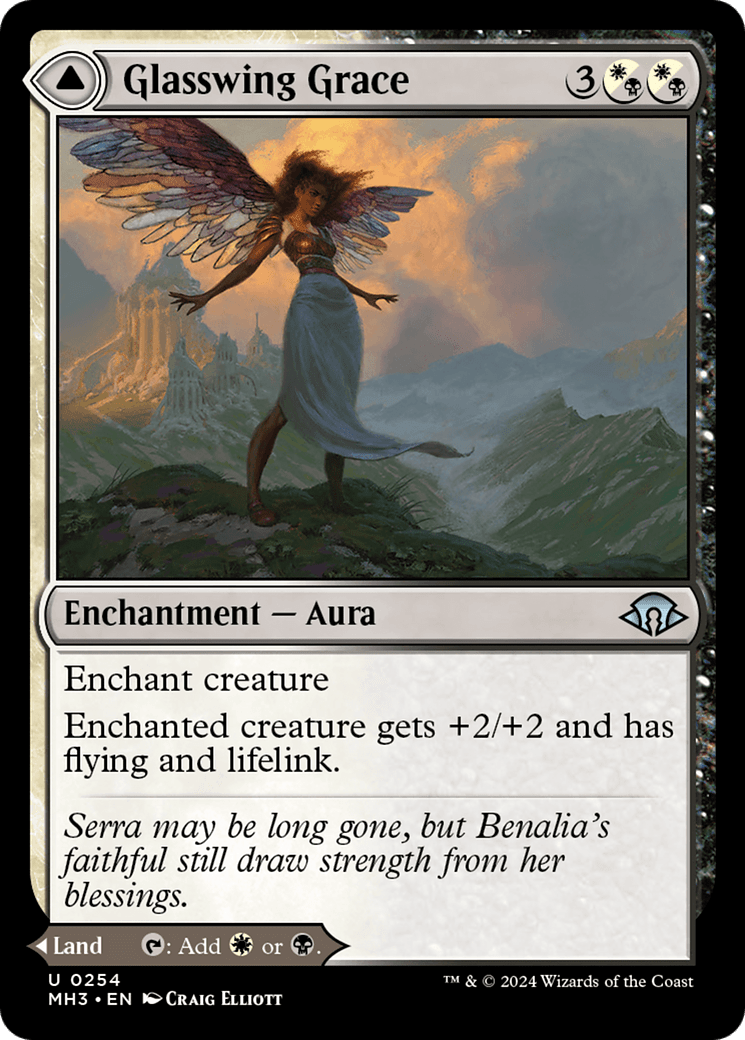
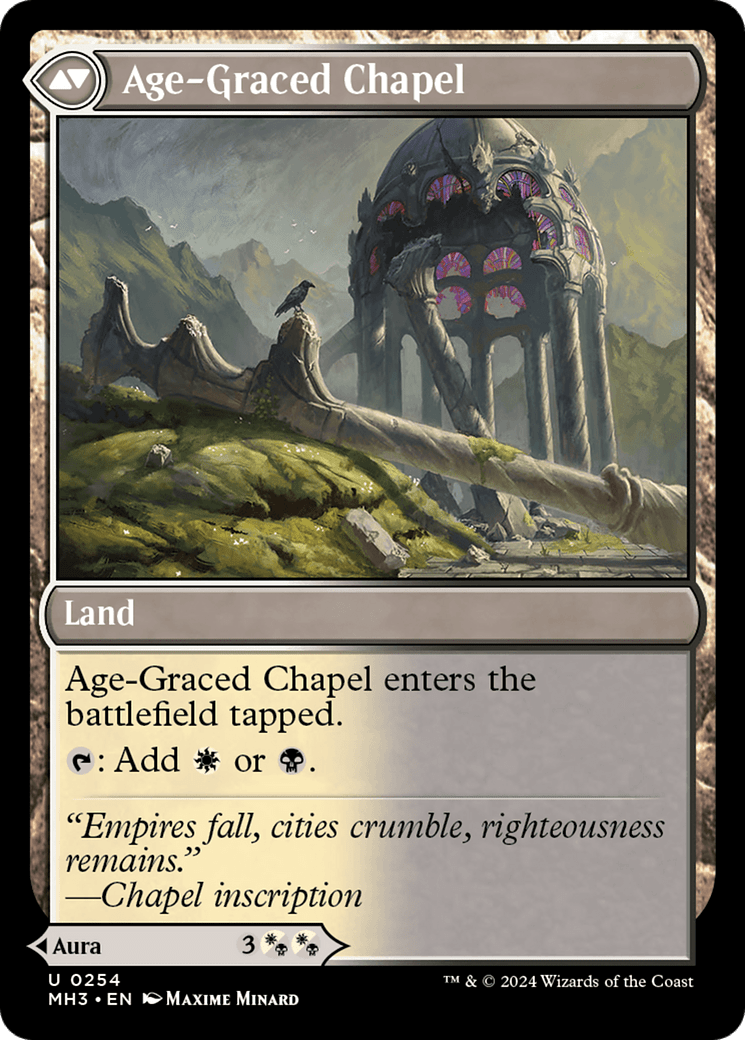
Mana is a major part of drafting MH3. Eldrazi need a “Sixth Color” of mana in the form of wastes, and energy decks need ways to produce . There is no land that produces or fetches every color of mana, no artifact that repeatedly makes any color, nothing that filters mana into a new color, and no green way to search up lands with common or uncommon cards. Instead, there are 10 common three-point-five color fetchlands, 30 uncommon Modal Dual-Faced cards (MDFCs), Eldrazi Spawn that can be cashed in for mana, and 11 rare lands. This means that you must consciously draft with your colors in mind, grabbing your actual dual-colored lands every time you have a spare pick available for a 3+color deck and having additional value from utility lands in decks with fewer colors. The Common fetchlands are worth playing in decks when two of the colors match, and most of the dual-colored MDFCs are strong when you only have access to one of the two colors otherwise.
Rarity and Flexibility
Rarity plays a major role in MH3 compared to other draft sets, with more defined roles and flexibility. In part due to a “new to modern” card in every pack, there are 39 more uncommons than commons in the set, with only 85 total commons to 121 total uncommons.
In a general sense, as they relate to two-color archetypes:
Mythic Rares tend to have significant deck building requirements with very high power ceilings
Rares in MH3 are situational, and require a lot of setup or specific type of deck. Many were designed for Constructed, and have no real place in a draft deck
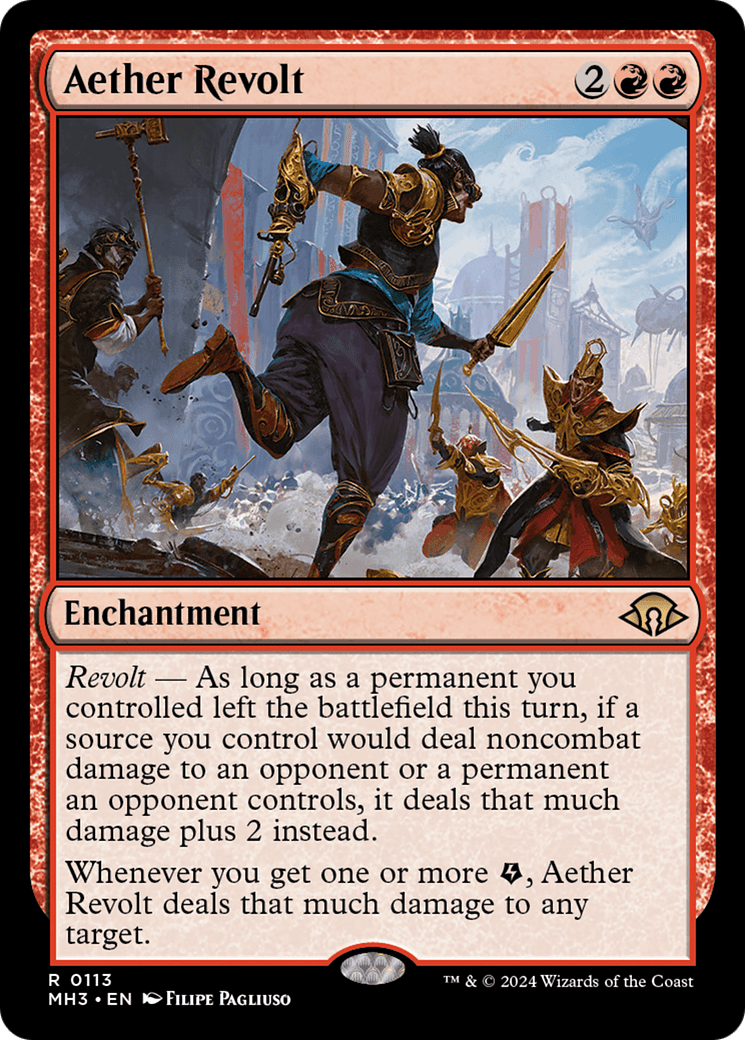
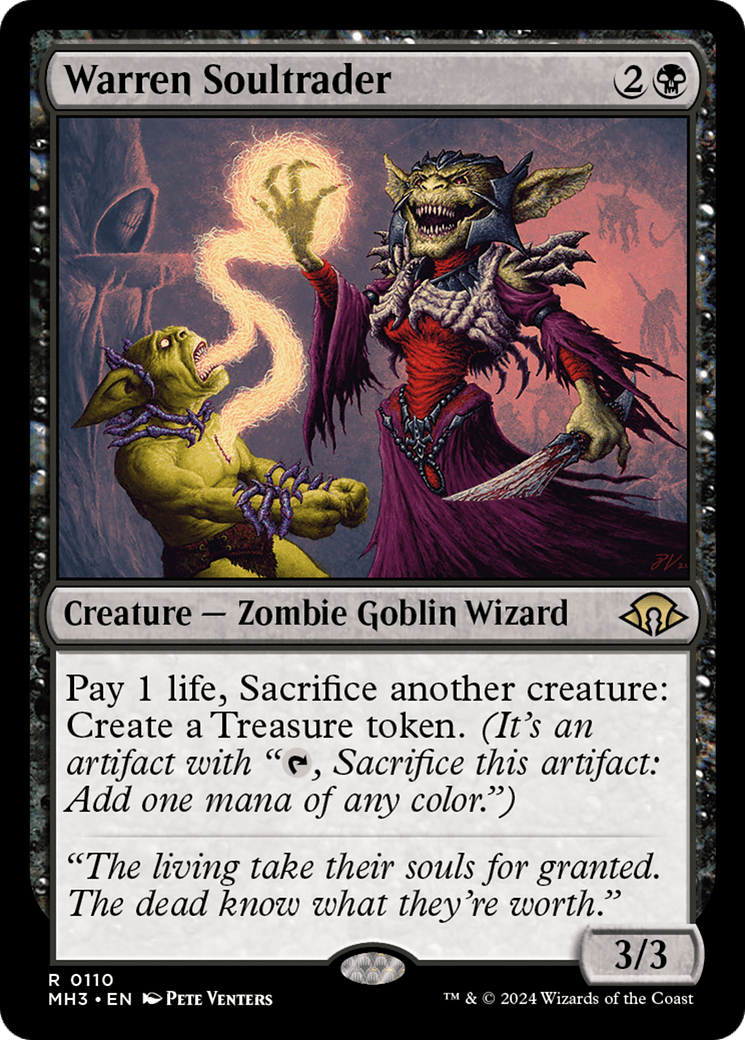
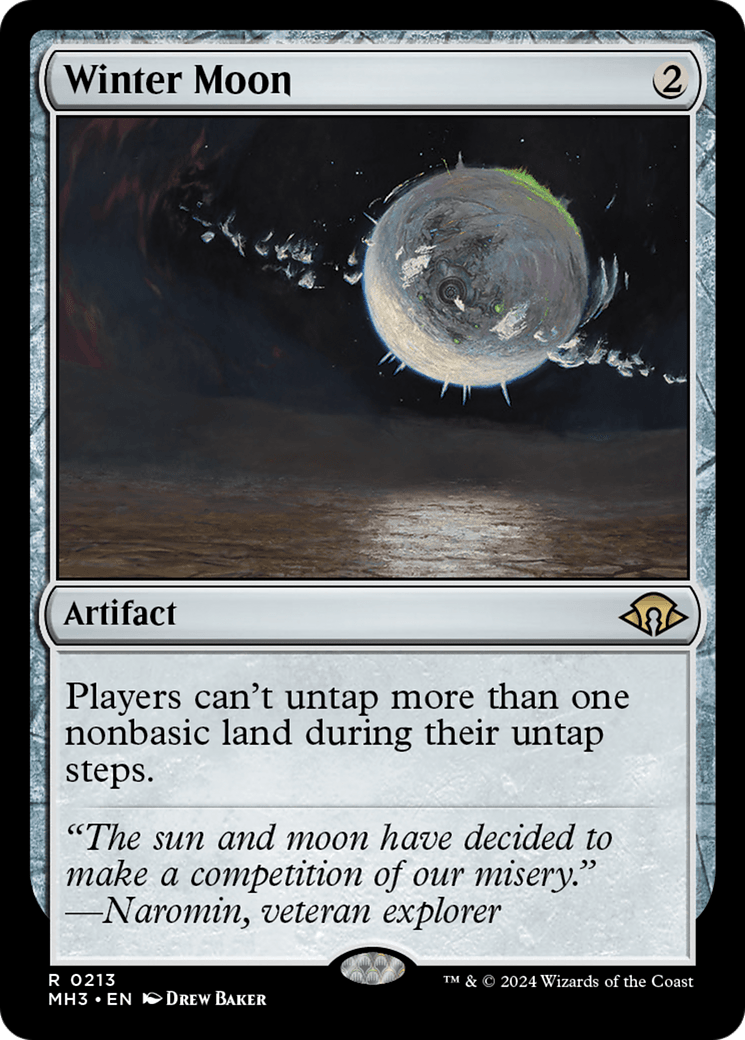
Uncommons fall into three categories, and either champion a specific archetype, work with a specific synergy package, or be strong in every archetype of which that color is a part.
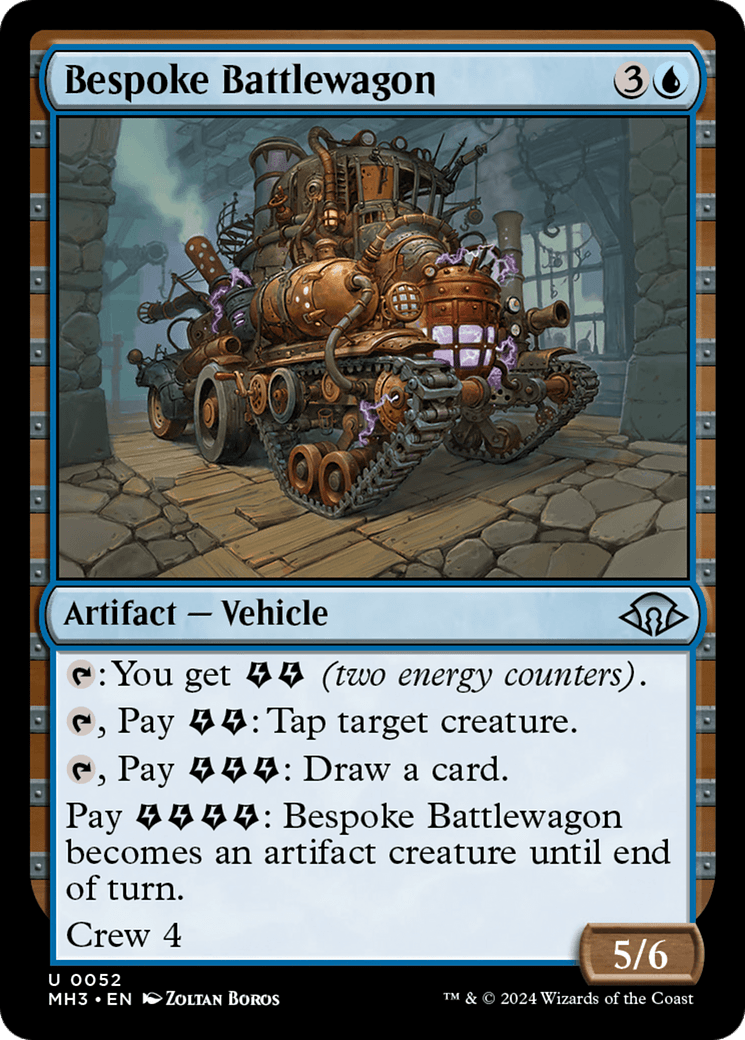
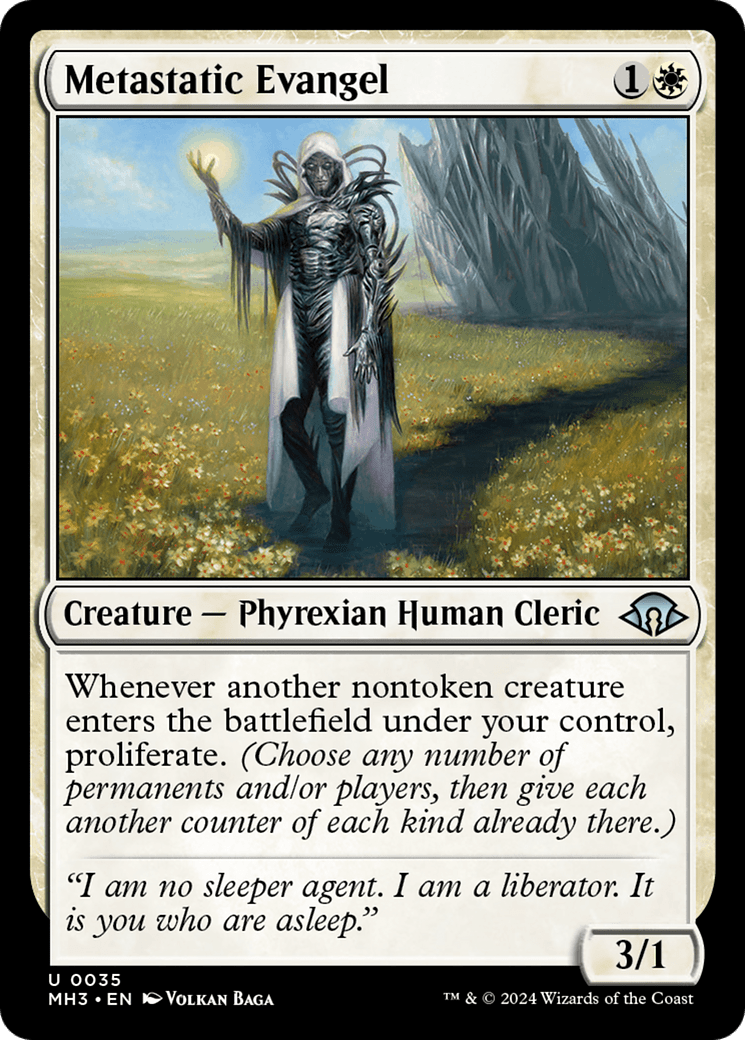
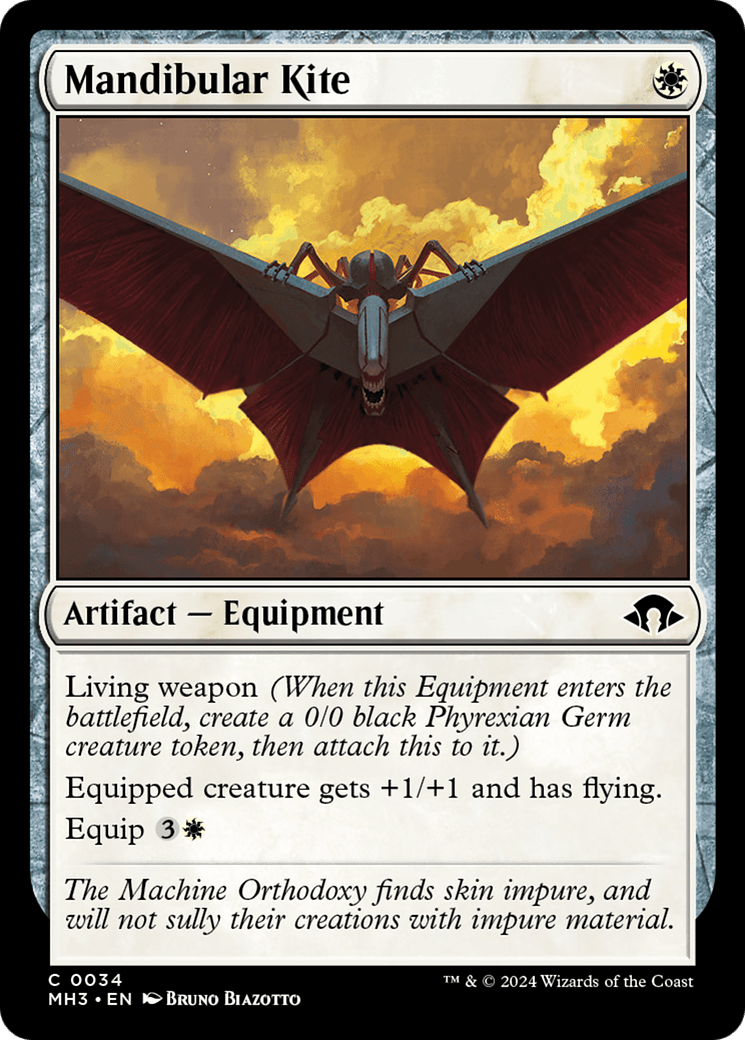
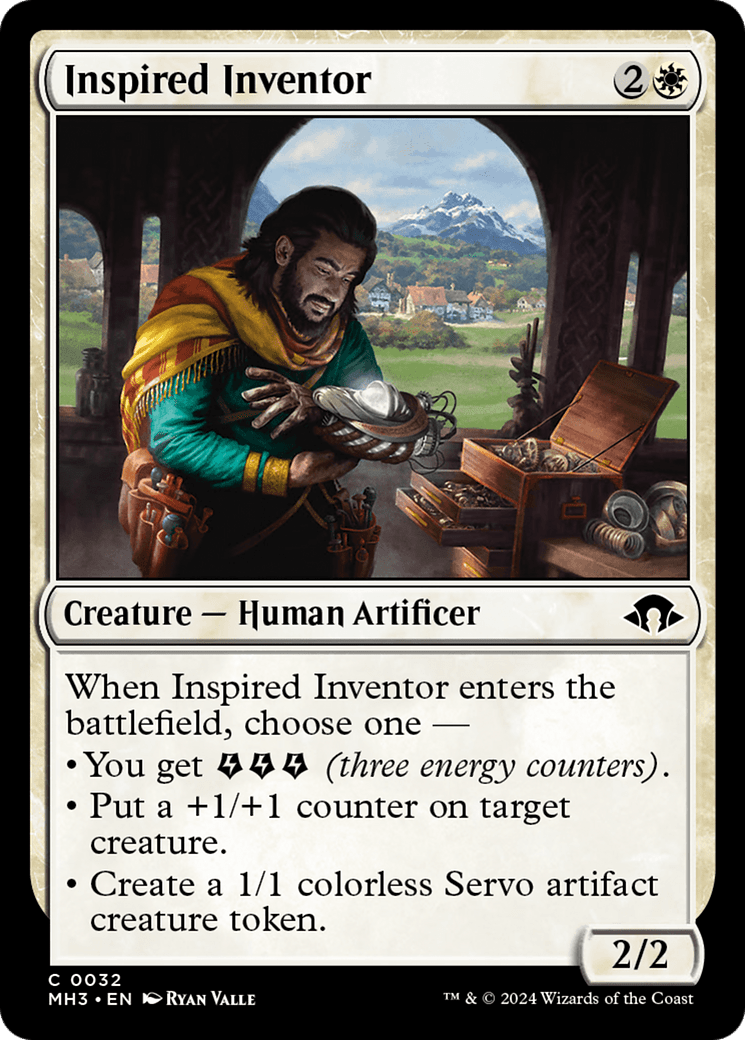
Commons tend to belong in exactly two decks- Mandibular Kite is fantastic in G/W modified or B/W Aristocrats as a 1-mana modified token and artifact, but weak in U/W Energy and R/W Aggro. The more flexible common cards will do their job but almost always have stronger specific options available, but it’s nice to have cards like Inspired Inventor to stay flexible. Common Removal is often playable in any given color, but has one archetype where it’s strongest. Multicolored commons are where the strongest signals are available, as all of them are powerful in their specific two-color pair and almost nowhere else (with the exception of Writhing Chrysalis).
Color Pairs and Pick Priorities
Rather than raw power, draft decks in Modern Horizons 3 are much stronger when you draft to a cohesive game plan. Here’s all the two-color pairs, with the pick priorities for style of cards broken down by how common they are. This list is meant to give you an idea of which cards are actually signals for which decks and how to draft a deck for the first time- These are not all the things you will need for each deck, but they are the most important and a useful shorthand. You might find yourself splashing other colors for your missing pieces, or taking a weaker card to fill out your list.
This is a section you can probably figure out yourself, from either a full spoiler of the set or my card-by-card ratings, but you can also trust me since I already did the work.
R/G Eldrazi
Pick Order:
4 and 5 Mana Great Creatures
1. The best creatures in the set, in any color pair – Writhing Chrysalis, Titan’s Vanguard, Territory Culler
2. Removal
Some is always good, some is better for Gruul – Ghostfire Slice, Fanged Flames, Horrific Assault
3. Good Creatures
Stall, Ramp, and Attract removal- Basking Broodscale, Skittering Precursor, Nightshade Dryad
4. Finishers
Close the game, even through 20 Eldrazi Spawn Tokens – Nyxborn Hydra, Sundering Eruption, Colossal Dreadmask
Don’t worry too much about picking up Eldrazi Spawn, they’ll just kind of happen in this color pair. You can also take a full Eldrazi Spawn deckbuilding approach, but you’ll likely need to either splash a color to make those creatures into attackers or have opened something gigantic enough to ramp into. Compared to other color-pairs, this is one of the few strong enough to support multiple drafters at a table so you don’t need to stress too much if your Titan’s Vanguard doesn’t come back around.
G/W Modified
Direction
Selesnya has paths that don’t cross much, so get into the deck with powerful cards that offer direction. Choose between going wide with a lot of creatures/making one creature hard to deal with and Aura Modifications/Counter Modifications. This first category also means that the creatures that bridge these gaps are stronger early picks – Golden-Tail Trainer/ Metastatic Evangel, Basking Broodscale/Voltstorm Angel, Glyph elemental/Nyxborn Hydra
2.Evasion
Get creatures that wear the modifications well – Mandibular Kite, Aerie Auxiliary, Temperamental Oozewag
3. Good Creatures
Preferably flexible ones, who can also self-modify – Trickster’s elk, Indebted Spirit, Proud Pack-Rhino
4. Combat tricks/ Removal
You need a lot less than in other decks because your creatures do so much more of the work, and you have a lot more control over combats. Combat Tricks in general tend to be more valuable, since they leave modifications behind in MH3 – Wing it, Gift of the Viper, Thraben Charm, Horrific Assault
U/W Energy Value
1. Multi Roleplayers
Cards that produce all the energy they need or play multiple roles, to minimize the risk of this deck not coming together – Bespoke Battlewagon, Tune the Narrative, Voltstorm Angel
2. Answers
Azorius has weak removal, so you’ll need to pick it high and substitute in other kinds of answers – Static Prison, Deem Inferior, Ajani Fells the Godsire
3. Energy Sinks
Your energy deck is only as good as the best way you have to spend it. You don’t need a lot of strong sinks, but your deck won’t work if you don’t have any – Emissary of Soulfire, Roil Cartographer, Reiterating Bolt (easy splash)
4. Energy Generators and Utility
Strong generators of energy are just as important as ways to spend them, but much more common. Many of the producers are also very situational places to spend it – Riddle Gate Gargoyle, Hexgold Slith, Tempest Harvester
Azorius Tends to have the weakest Removal, so you’ll often splash it or find answers in other forms. None if it is free, so you’ll need to think about how you’ll provide energy for Static Prison, wastes for an Utter End, or draw cards for a Deem Inferior. Evasion happens naturally on the energy generators, so you don’t need to waste high picks on them.
U/B Control
1. Cheap Removal
You’ll be drawing a lot of cards, and you need to buy time without spending too much mana- Deem Inferior, Lethal Throwdown, Consuming Corruption
2. Bombs/Fliers
This deck either wins by hitting a high-value bomb rare, or deploying fliers and continually keeping the skies clear. You can win with one or the other- Rares, Mindless Conscription, /Sneaky Snacker, Emrakul’s Messenger, Hope-Ender Coatl
3. Card Draw
Important but surprisingly common- your card draw can be made up of engine pieces with two singular draws to hit the third card, or single cards that draw 2 or more- Roil Cartographer, Deep Analysis, Eviscerator’s Insight, Unfathomable Truths
4. Blockers
You can’t kill every creature your opponent’s play, so you need to make the difference up with blockers – Petrifying Meddler, Kami of Jealous Thirst, Wurmcoil Engine
B/R Affinity
1. Removal
It’s incredibly difficult to fight for or force affinity deck, so you’ll minimize your risk during the draft by picking the flexible Red and Black removal spells and letting the affinity payoffs come back around- Fanged Flames, Galvanic Discharge, Ghostfire Blade, Lethal Throwdown
2. Payoffs
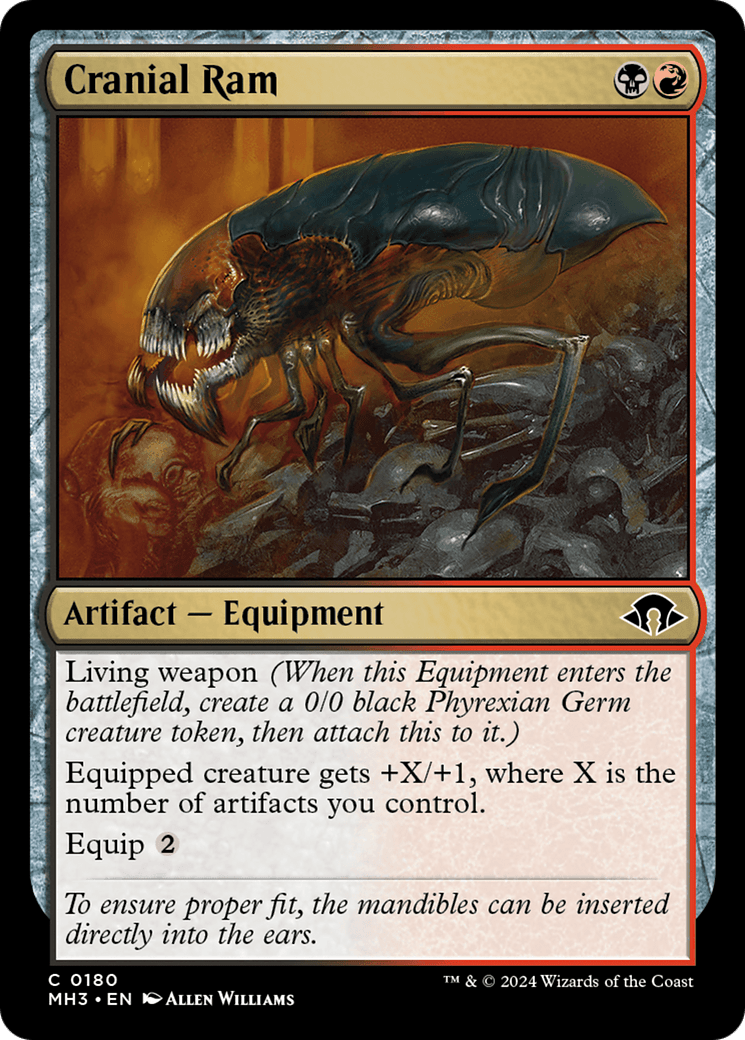
The efficient cards that reward having plenty of artifacts- Cranial Ram, Etherium Pteramander, Frogmyr Enforcer, Furnace Hellkite
3. MDFC’s
Compared to other archetypes, Affinity wants to run as few lands as possibly while still casting spells, and doesn’t have much room for colorless fetches – Stump Stomp, Fell the Profane, Revitalizing Repast
4. Artifacts
Cards that are artifacts, but don’t necessarily care about other artifacts in play- Molten Gatekeeper, Unstable Amulet, Etched Slith
R/W Energy Aggro
1. Removal
Usually the red removal, since the white removal is more controlling and weak for taking out blockers- Ghostfire Blade, Galvanic Discharge, Static Prison
2. Bodies
Efficient creatures that enable attacks- Conduit Goblin, Amped Raptor, Aerie Auxiliary
3. Energy and token Generators
Now you can decide whether you’re going wide with tokens or maximizing your energy – Smelted Chargebug, Muster the Departed, Scurry of Gremlins, Hexgold Slith
4. Anthems
Your deck needs 2-4 ways to pump your whole team, based on how much burn you have. However, there are a lot of anthems so you can pick them up a little later- Voltstorm Angel, Reckless Pyrosurfer, Molten Gatekeeper, Scurry of Gremlins
B/W Aristocrats (Modified Optional)
1. Aristocrats
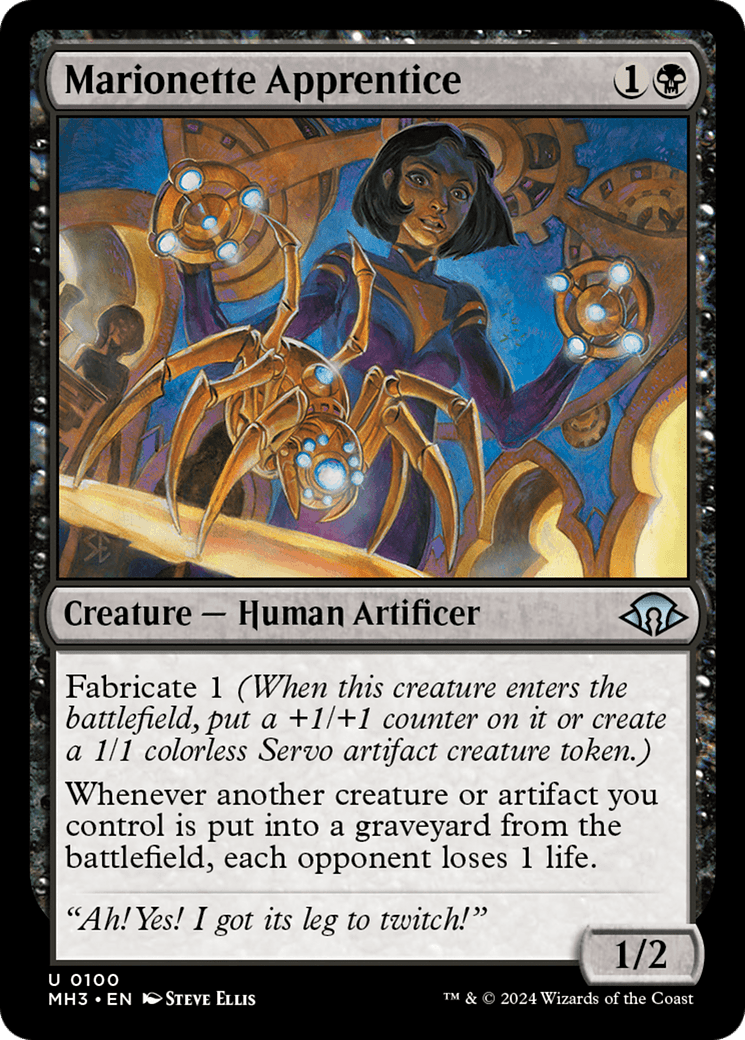
The most important and most difficult part to find, you’ll need to generate either a kill or value from your creatures dying. Mostly, these will only work with specific types of creatures and dictate the rest of your draft- Marionette Apprentice, Guardian of the Forgotten, Nadier’s Nightblade, Ondu Knotmaster
2. Sac Outlets
Ways to put all your creatures into your graveyard. There’s only one repeating way to do it in black or white, but some of the best rares in the set are sacrifice outlets and there’s plenty of singular outlets- Dreadmobile, Victimize, Eviscerator’s Insight, Rares
3. Removal
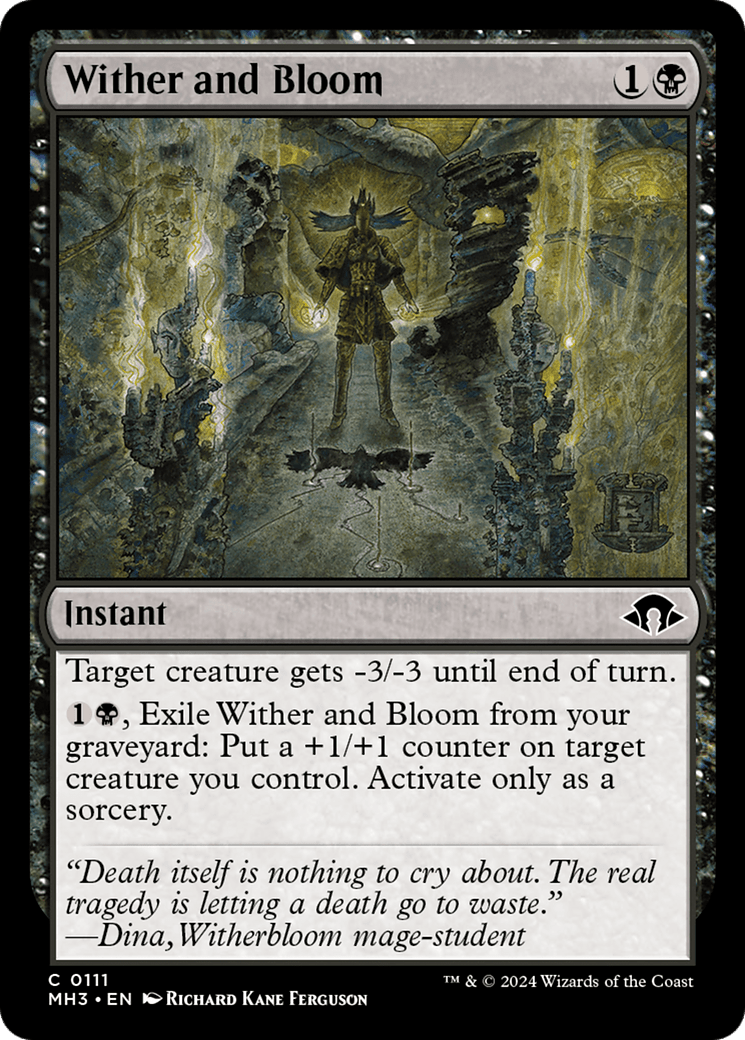
This is the best deck for getting additional value out of otherwise strong removal spells- Lethal Throwdown, Ajani Fells the Godsire, Wither and Bloom, Accursed Marauder
4. Tokens/Bodies
Cards that generate multiple creatures to eat are important but numerous, and this is often the only deck that wants them – Wurmcoil Larva, Indebted Spirit, Muster the Departed, Obstinate Gargoyle
G/B Counters (Modified)
1. Growth Creatures
This can be creatures growing in size or value, but you’ll need to provide continuous growth early to go over the cheap aggro creatures and late to avoid being blocked by Eldrazi. The alternative is having enough removal and ways to recast it, but this is difficult without value rares – Expanding Ooze, Cursed Wombat, Propagator Drone
2. Engine Bases (Or Strict Card Advantage)
It’s better to assemble little combos that generate value, but sometimes you just need cards worth multiple cards – Evolution Witness, Basking Broodscale, Fetid Gargantua, Victimize
3. Engine Enablers (Or Giant Creatures)
Moving counters around on the creatures that care is powerful, but will often require a splash or situational lands- Nesting Ground, Proliferate Creatures, Territory Culler, Hunted Wumpus, Temperamental Oozewag
4. Removal
Removal in Golgari is plentiful and relatively flat in power – Wither and Bloom, Signature Slam, Horrific Assault
U/G Eldrazi Ramp
1. Interaction
The best Simic interaction is attached to powerful cast triggers- Depth Defiler,
2. Ramp and Engine Pieces
These are often one and the same in Simic, but you can get away without the engine pieces if your creatures have enough raw power. This is also where you can decide if/how you’re going to splash- Kozilek’s Unsealing, Path of Annihilation, Nightshade Dryad, Planar Genesis, Snapping Voidcraw
3. Lands
Compared to other eldrazi decks, Simic needs both colored and colorless mana. Grab Landscapes pretty early when possible
4. Small Creatures
Stall, Ramp, and Attract removal- It that Heralds the End, Glaring Fleshraker Basking Broodscale, Eldrazi Repurposor, Propagator Drone
5. Big Creatures
Take the bomb rare eldrazi higher, but you’ll be able to pick up the large common creatures pretty late- Drowner of Truth, Breaker of Creation, Drownyward Lurker
End Step
Modern Horizons 3 is deep enough that we’ll probably be exploring it for the next few months. If you want more information on it, you can find the ratings for every card at TheGathering.GG’s hub page, watch Adam Stream live drafts at Twitch.tv/ScuffleDLux, and watch the initial ratings and explanations on YouTube.
I’m trying to write shorter articles, so I cut these sections for length, and you can expect them in a follow-up article next week!
Sizing vs Engines
Big Synergies vs Small Synergies
Banded Pivots in Color Trios
Preparing Your Fail Cases
I’m a Good Magic Player! Why Do I Keep Losing at MH3?
